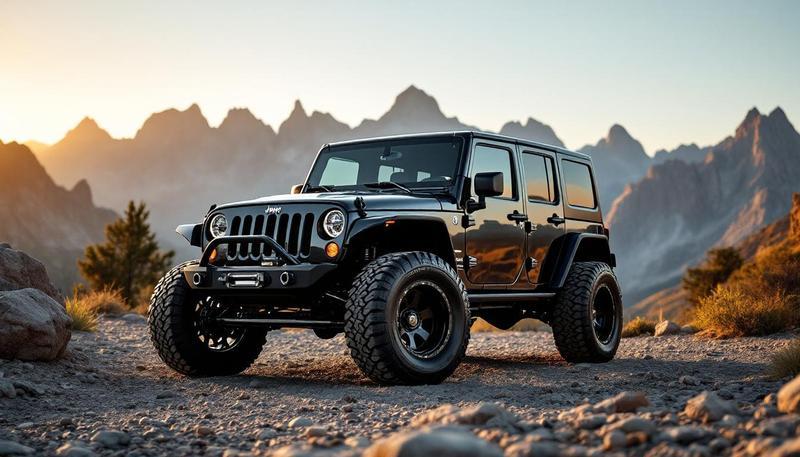
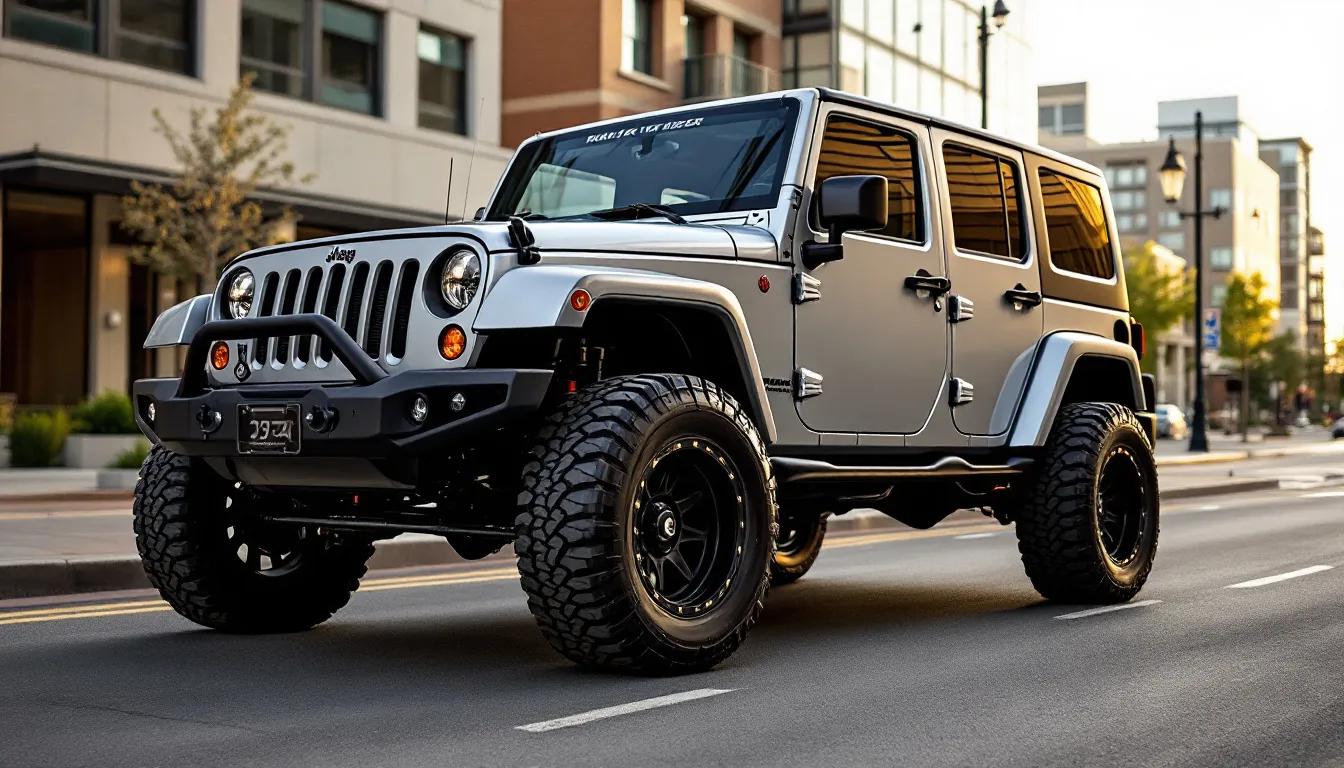
JK Lift Kit Installation: DIY Guide & Tips
Last updated: February 1, 2025
Installing a lift kit on your JK is one of the most rewarding DIY projects you can tackle. It’s also one that trips up a lot of first-timers. Done right, you’ll have a properly lifted Jeep and the satisfaction of doing it yourself. Done wrong, you’ll create handling problems, wear out components prematurely, or worse.
This guide walks through the complete process, from preparation to final torque checks. Whether you’re doing the work yourself or just want to understand what your shop is doing, this information will help you get it right.
Before You Start: Is DIY Right for You?
Let’s be honest about what this job involves. A lift kit installation requires:
- Moderate mechanical ability
- Patience for stuck, rusted fasteners
- Physical strength to handle heavy components
- Proper tools and workspace
- A full weekend with no time pressure
If you’ve done brake jobs, changed struts, or worked on suspension before, you can handle a basic lift installation. If your most complex repair has been an oil change, consider starting with something simpler or having a shop do this one.
When to DIY
A lift installation makes sense as a home project when:
- You’re installing a 2.5-3.5” kit with bolt-on components
- You have a garage or level workspace
- The Jeep isn’t severely rusted
- You own or can rent the necessary tools
- You have backup transportation if problems arise
When to Use a Shop
Consider professional installation when:
- Installing a long-arm kit (requires welding/cutting)
- Lifting more than 4 inches
- Significant rust on suspension components
- You don’t have proper tools or workspace
- Time is limited
For a detailed breakdown of lift types and what each involves, see our Complete JK Lift Kit Guide.
Recommended Installation Tools


Tools You’ll Need
Having the right tools makes this job manageable. Having the wrong tools turns it into a nightmare.
Essential Tools
- Floor jack (3-ton minimum) - You’ll be lifting heavy corners repeatedly
- Jack stands (4 minimum, 6 ton rating) - Never work under a vehicle supported only by a jack
- Socket set - Metric and SAE, 3/8” and 1/2” drive, deep and shallow
- Wrench set - Metric and SAE, combination and open-end
- Torque wrench - 1/2” drive, capable of 150+ ft-lbs
- Breaker bar - 1/2” drive, 18” or longer
- Penetrating oil - PB Blaster, Kroil, or similar
- Pry bar - Medium length for persuading stubborn components
- Rubber mallet - For seating springs without damage
- Wire brush - For cleaning threads and mounting surfaces
Helpful but Not Essential
- Impact wrench - Air or cordless, makes fastener removal much faster
- Spring compressors - Some kits require them, others don’t
- Pickle fork - For separating ball joints and tie rod ends
- Ball joint press - If you’re replacing ball joints simultaneously
- Angle finder - For setting pinion angles precisely
Safety Equipment
- Safety glasses - Rust and debris fly when breaking fasteners loose
- Work gloves - Protect your hands from sharp edges
- Wheel chocks - Prevent rolling when raising the vehicle
Time Estimates by Kit Type
Be realistic about how long this will take. Rushed lift installations are bad lift installations.
| Kit Type | First-Timer | Experienced |
|---|---|---|
| 2” Spacer lift | 4-6 hours | 2-3 hours |
| 2.5” Spring lift | 10-14 hours | 5-7 hours |
| 3.5” Complete kit | 14-18 hours | 8-10 hours |
| 4”+ Long-arm kit | 24-30 hours | 14-18 hours |
These estimates assume everything goes smoothly. Add 50% if your JK has lived in the rust belt or seen salt exposure.
Pre-Installation Preparation
Proper preparation prevents problems. Do this work before you put the Jeep on stands.
The Week Before
- Order the complete kit - Verify all parts are present when they arrive
- Gather tools - Buy or rent anything you’re missing
- Source penetrating oil - Start soaking bolts days before
- Read the instructions - Completely, twice
- Watch installation videos - Seeing the process helps
The Day Before
- Spray all suspension fasteners with penetrating oil
- Park on level ground in your workspace
- Organize parts from your kit, verify nothing is missing
- Charge cordless tools if using them
Before You Start
- Chock wheels on the axle you’re not working on
- Loosen lug nuts before raising the vehicle
- Disconnect negative battery cable - Prevents electrical issues
- Have the instructions accessible - Printed out, not on your phone in your pocket
Step-by-Step Installation Overview
Every kit is slightly different, but the general process is similar. These steps apply to a typical 2.5-3.5” coil spring lift.
Phase 1: Front Suspension
The front is more complex than the rear. Start here while you’re fresh.
Step 1: Raise and Support the Front
- Lift the front of the Jeep by the frame, not the axle
- Place jack stands under the frame rails
- Allow the front axle to hang freely
- Remove front wheels
Step 2: Remove Factory Track Bar
The track bar connects the axle to the frame and must come out before the axle can drop enough to remove springs.
- Remove the frame-side bolt first (usually 21mm)
- Remove the axle-side bolt
- Set the factory track bar aside or discard if replacing
Step 3: Disconnect Sway Bar Links
The sway bar links connect the sway bar to the axle. Disconnecting them allows the axle to droop fully.
- Hold the link stud with an Allen key or Torx while removing the nut
- If stuck, cut them off - you’re replacing them anyway
Step 4: Disconnect Brake Line Bracket
The brake line bracket limits axle droop. Removing it gives clearance to drop the axle.
- Remove the bracket bolt from the frame
- Don’t disconnect the brake line itself - just the bracket
Step 5: Support and Lower the Axle
- Place a floor jack under the differential
- Slowly lower the axle until the coil spring is loose
- Remove the coil spring by hand
Step 6: Install New Components
Work through your kit’s instructions for:
Pros:
- Purpose-built for JK Wrangler ensures proper fitment and function
- Durable construction handles trail abuse and daily driving
- Backed by positive community reviews and trail-tested results
Cons:
-
Premium pricing compared to generic aftermarket options
-
May require longer lead times for specialty or popular items
-
Some products require professional installation for best results
-
New coil spring installation
-
Shock replacement (if included)
-
Track bar bracket installation
-
Adjustable track bar installation
-
Control arm replacement (if included)
-
Sway bar link installation
Step 7: Reassemble Front
- Raise the axle with the floor jack
- Install all fasteners but don’t fully torque yet
- Install wheels and lower to the ground
- Torque fasteners to spec at ride height
Phase 2: Rear Suspension
The rear is similar but generally simpler. No track bar bracket is needed on most kits.
Step 1: Raise and Support the Rear
- Lift the rear by the frame
- Place jack stands under the frame
- Allow rear axle to hang
- Remove rear wheels
Step 2: Disconnect Rear Sway Bar Links
Same process as the front. The rear sway bar links are usually easier to access.
Step 3: Disconnect Brake Line Brackets
Pros:
- Purpose-built for JK Wrangler ensures proper fitment and function
- Durable construction handles trail abuse and daily driving
- Backed by positive community reviews and trail-tested results
Cons:
- Premium pricing compared to generic aftermarket options
- May require longer lead times for specialty or popular items
- Some products require professional installation for best results
Remove the brackets from the frame to allow full axle droop.
Step 4: Lower the Axle and Remove Springs
- Support the axle with a floor jack
- Slowly lower until springs are loose
- Remove springs by hand
Step 5: Install New Rear Components
Follow your kit’s instructions for:
- New coil springs
- Shocks (if included)
- Rear track bar bracket or adjustable track bar
- Control arms (if included)
- Sway bar links
Step 6: Reassemble Rear
- Raise the axle
- Install fasteners, don’t fully torque yet
- Install wheels, lower to ground
- Torque at ride height
Phase 3: Final Steps
Torque Everything at Ride Height
This is critical. Suspension bushings must be torqued with the suspension at normal ride height, not hanging. Torquing while raised pre-loads the bushings incorrectly and causes premature wear.
Set Adjustable Components
If your kit includes adjustable components:
- Track bar - Adjust until steering wheel is centered and axle is centered under the body
- Control arms - Set pinion angle per instructions (typically 2-3 degrees down from driveshaft)
- Caster - Adjust front upper control arms to restore caster angle
Test Drive
Take a careful test drive around the neighborhood:
- Listen for clunks or unusual noises
- Check for vibrations
- Verify steering feels normal
- Confirm brake function
Get an Alignment
Immediately. Not next week. An alignment is mandatory after any lift installation.
Common Mistakes to Avoid
These are the errors we see repeatedly. Learn from others’ mistakes.
Mistake 1: Not Torquing at Ride Height
Torquing suspension bolts with the axle hanging puts incorrect preload on the bushings. The bushings will wear rapidly and you’ll have clunks within months. Always lower the vehicle to ride height before final torque.
Mistake 2: Forgetting the Torque Recheck
Suspension bolts settle as bushings seat and components wear in. After 500 miles, re-torque every bolt in the kit. This catches fasteners that loosened and prevents failures.
Mistake 3: Skipping the Alignment
Running an improperly aligned vehicle after a lift destroys tires fast. We’ve seen owners go through brand new tires in 5,000 miles because they skipped the alignment. Budget for it. Do it immediately.
Mistake 4: Over-Torquing
More is not better with suspension fasteners. Follow the torque specifications in your kit’s instructions. Over-torquing crushes bushings and stretches bolts. If you don’t have a torque wrench, buy one before starting.
Mistake 5: Reusing Stretched Hardware
Some bolts stretch during installation or removal. Many kits include new hardware for this reason. If a bolt looks stretched, threads are damaged, or it’s been broken loose multiple times, replace it. Hardware is cheap compared to a failure.
Mistake 6: Not Supporting the Axle Properly
When lowering the axle to remove springs, it must be supported by a jack. If the axle falls, it can damage brake lines, ABS sensors, or you. Always control the axle’s descent.
Mistake 7: Ignoring Brake Lines
Stock brake lines are only long enough for stock suspension travel. At lifts above 2.5 inches, extended brake lines are essential. A stretched brake line can leak or rupture. Install extended lines with your lift, not later.
Mistake 8: Not Addressing Driveline Angles
Lifting changes your driveshaft angles. Vibrations after a lift usually indicate incorrect pinion angle. If your kit includes adjustable control arms, set the pinion angle correctly. If vibration persists, a front CV driveshaft may be needed.
When to Walk Away and Call a Shop
Sometimes DIY isn’t the right call. Here’s when to consider professional help:
Severely Rusted Fasteners
If bolts are breaking instead of turning, or you’ve rounded multiple fasteners, a shop with proper extraction tools will save you time and frustration.
Unexpected Problems
Found a cracked frame weld? Ball joints shot? Control arm bushings destroyed? A shop can address these issues as part of the lift installation.
Running Out of Time
If you started Saturday morning and it’s Sunday night with the Jeep still on stands, don’t rush. It’s better to call a shop than to finish a job incorrectly because you needed the vehicle for Monday’s commute.
Complex Kits
Long-arm kits require cutting and welding frame brackets. Unless you have proper welding equipment and skills, this is shop territory.
Post-Installation Checklist
Before considering the job complete, verify:
- All fasteners torqued to specification
- Brake lines have slack at full droop
- Sway bar links installed correctly
- Track bar adjusted (steering wheel straight, axle centered)
- Shocks are secure and not binding
- No fluid leaks
- Test drive completed without issues
- Alignment scheduled or completed
- 500-mile torque recheck scheduled
What to Expect After Installation
Your JK will feel different after a lift. Here’s what’s normal and what indicates a problem.
Normal After Lifting
- Slightly different steering feel - The higher center of gravity affects handling
- Minor settling - Springs may settle 1/4-1/2” in the first few hundred miles
- Need for recheck torque - Components settle as they wear in
Signs of Problems
- Vibration at highway speed - Usually driveline angle issue
- Clunking over bumps - Check torque on all fasteners
- Steering wheel off-center - Track bar needs adjustment
- Death wobble - Suspension geometry problem, often track bar related
- Brake pulsation - Check that brake lines aren’t stretched
Any of these issues require immediate attention. Don’t drive on a vibrating or wobbling JK hoping it will sort itself out.
Related Articles
- Complete JK Lift Kit Guide - Understanding lift types and choosing the right height
- Best 3.5-4 Inch Lift Kits for JK - Specific product recommendations
- Best JK Lift Kits by Budget - Recommendations across all lift heights
- JK Death Wobble: Causes and Fixes - Preventing and solving wobble issues
Related Guides
Explore more JK upgrade guides to complement your build:
- Lift Kit Guide — our complete lift kit overview
- Best JK Lift Kits — top lift kit recommendations
- Best JK Shocks — shock absorber options
- Best 3.5-4 Inch Lifts — mid-range lift kits
- Gear Ratio Guide — regearing after lifting
- Regear Cost Guide — regearing costs and options
- Steering Stabilizer — steering stability after lift
- Best Track Bar — track bar upgrade
- Best Control Arms — adjustable control arms
- Best All-Terrain Tires — tires after lifting
- Wheel Backspacing Guide — wheel fitment with lift
Frequently Asked Questions
How long does it take to install a JK lift kit?
For a first-timer with basic mechanical skills, plan for a full weekend, typically 12-16 hours of actual work. Experienced DIYers can complete a basic 2.5-3 inch kit in 6-8 hours. Long-arm kits take significantly longer due to the frame modifications involved, often 20+ hours even for experienced installers. These times assume reasonably rust-free components. Severely corroded fasteners can add hours to the job.
Can I install a lift kit without special tools?
Basic kits can be installed with common hand tools, a quality floor jack, and jack stands. You’ll need metric and SAE sockets, wrenches, a torque wrench, and a breaker bar at minimum. Some installations require spring compressors, though many modern kits are designed to avoid this. Specialty tools like pickle forks and ball joint presses make the job easier but aren’t always required depending on the specific kit and what you’re replacing.
Do I need an alignment after installing a lift kit?
Yes, absolutely. An alignment is mandatory after any lift installation, regardless of how small the lift. Lifting changes your vehicle’s geometry, affecting camber, caster, and toe. Running without a proper alignment will cause rapid tire wear, often destroying new tires in just a few thousand miles. It also causes poor handling and can make the vehicle unsafe. Budget $100-150 for a quality four-wheel alignment.
What’s the most common mistake when installing a JK lift?
Not properly torquing fasteners is the error we see most often. Suspension bolts must be torqued to specification with the suspension at ride height, not with the axle hanging. When torqued while hanging, the bushings are pre-loaded incorrectly. This causes premature bushing wear, clunking noises, and potentially dangerous failures. Always lower the vehicle to the ground before final torque, and recheck all fasteners after 500 miles.
Should I do my JK lift installation myself or use a shop?
This depends on your experience, tools, and the complexity of the kit. If you have mechanical experience, proper tools, and a full weekend available, DIY is feasible for basic lifts up to about 3.5 inches. For long-arm kits that require welding, lifts above 4 inches that demand complex geometry correction, or if you lack experience with suspension work, professional installation is worth the $400-800 cost. A properly installed lift lasts for years without issues. A rushed or improperly installed lift creates problems that cost more to fix than professional installation would have.
Get the Free JK Build Planner
Complete PDF with mod checklists, gear ratios, tire sizing charts, and budget worksheets. Everything you need to plan your JK build.
No spam. Unsubscribe anytime. By subscribing, you agree to our Privacy Policy.
Frequently Asked Questions
How long does it take to install a JK lift kit?
For a first-timer with basic mechanical skills, plan for a full weekend (12-16 hours). Experienced DIYers can complete a basic 2.5-3 inch kit in 6-8 hours. Long-arm kits take significantly longer, often 20+ hours.
Can I install a lift kit without special tools?
Basic kits can be installed with common hand tools, a floor jack, and jack stands. Spring compressors may be needed for some installations. Specialty tools like pickle forks and ball joint presses make the job easier but aren't always required.
Do I need an alignment after installing a lift kit?
Yes, absolutely. An alignment is mandatory after any lift installation. Skipping this step will cause rapid tire wear and poor handling. Budget $100-150 for a quality alignment.
What's the most common mistake when installing a JK lift?
Not properly torquing fasteners. Suspension bolts need to be torqued to spec with the suspension at ride height, not hanging. Incorrect torque leads to premature bushing wear and potentially dangerous failures.
Should I do my JK lift installation myself or use a shop?
If you have mechanical experience, proper tools, and a full weekend, DIY is feasible for basic lifts. For long-arm kits, lifts above 4 inches, or if you lack experience, professional installation is worth the cost.
Jeep JK Guide
We're JK owners who've been building, breaking, and fixing Wranglers for years. Everything here is tested on our own rigs - no sponsored fluff, just honest recommendations.
Learn more about us →Get the JK Build Planner
Free PDF with complete build checklists, gear ratios, and tire fitment guides.
By subscribing, you agree to our Privacy Policy.
Related Articles

How to Regear Jeep JK: Complete DIY Guide to Changing Gear Ratios
Best Front Sway Bar Links for Jeep JK: Quick-Disconnect & Heavy-Duty Options
Find the right front sway bar links for your Jeep JK. Compare quick-disconnect vs fixed links, learn compatibility by model year and lift height, and improve both trail articulation and daily driving.
Best Lift Kit for Daily Driving Jeep JK: Comfortable Street Options
Find the best lift kit for daily driving your Jeep JK with our expert guide covering ride quality, fuel economy, and street-friendly lift options.